Install Docker Desktop on Windows
Estimated reading time: 9 minutes
Update to the Docker Desktop terms
Professional use of Docker Desktop in large organizations (more than 250 employees or more than $10 million in revenue) requires users to have a paid Docker subscription. While the effective date of these terms is August 31, 2021, there is a grace period until January 31, 2022, for those that require a paid subscription. For more information, see Docker Desktop License Agreement.
Welcome to Docker Desktop for Windows. This page contains information about Docker Desktop for Windows system requirements, download URL, instructions to install and update Docker Desktop for Windows.
Download Docker Desktop for Windows
System requirements
Your Windows machine must meet the following requirements to successfully install Docker Desktop.
WSL 2 backend
- Windows 11 64-bit: Home or Pro version 21H2 or higher, or Enterprise or Education version 21H2 or higher.
- Windows 10 64-bit: Home or Pro 2004 (build 19041) or higher, or Enterprise or Education 1909 (build 18363) or higher.
- Enable the WSL 2 feature on Windows. For detailed instructions, refer to the Microsoft documentation.
-
The following hardware prerequisites are required to successfully run WSL 2 on Windows 10 or Windows 11:
- 64-bit processor with Second Level Address Translation (SLAT)
- 4GB system RAM
- BIOS-level hardware virtualization support must be enabled in the BIOS settings. For more information, see Virtualization.
- Download and install the Linux kernel update package.
Hyper-V backend and Windows containers
- Windows 11 64-bit: Pro version 21H2 or higher, or Enterprise or Education version 21H2 or higher.
-
Windows 10 64-bit: Pro 2004 (build 19041) or higher, or Enterprise or Education 1909 (build 18363) or higher.
For Windows 10 and Windows 11 Home, see System requirements for WSL 2 backend.
- Hyper-V and Containers Windows features must be enabled.
-
The following hardware prerequisites are required to successfully run Client Hyper-V on Windows 10:
- 64 bit processor with Second Level Address Translation (SLAT)
- 4GB system RAM
- BIOS-level hardware virtualization support must be enabled in the BIOS settings. For more information, see Virtualization.
Note
Docker only supports Docker Desktop on Windows for those versions of Windows 10 that are still within Microsoft’s servicing timeline.
Containers and images created with Docker Desktop are shared between all user accounts on machines where it is installed. This is because all Windows accounts use the same VM to build and run containers. Note that it is not possible to share containers and images between user accounts when using the Docker Desktop WSL 2 backend.
Nested virtualization scenarios, such as running Docker Desktop on a VMWare or Parallels instance might work, but there are no guarantees. For more information, see Running Docker Desktop in nested virtualization scenarios.
About Windows containers
Looking for information on using Windows containers?
- Switch between Windows and Linux containers describes how you can toggle between Linux and Windows containers in Docker Desktop and points you to the tutorial mentioned above.
- Getting Started with Windows Containers (Lab) provides a tutorial on how to set up and run Windows containers on Windows 10, Windows Server 2016 and Windows Server 2019. It shows you how to use a MusicStore application with Windows containers.
- Docker Container Platform for Windows articles and blog posts on the Docker website.
Install Docker Desktop on Windows
-
Double-click Docker Desktop Installer.exe to run the installer.
If you haven’t already downloaded the installer (
Docker Desktop Installer.exe), you can get it from Docker Hub. It typically downloads to yourDownloadsfolder, or you can run it from the recent downloads bar at the bottom of your web browser. -
When prompted, ensure the Enable Hyper-V Windows Features or the Install required Windows components for WSL 2 option is selected on the Configuration page.
-
Follow the instructions on the installation wizard to authorize the installer and proceed with the install.
-
When the installation is successful, click Close to complete the installation process.
-
If your admin account is different to your user account, you must add the user to the docker-users group. Run Computer Management as an administrator and navigate to Local Users and Groups > Groups > docker-users. Right-click to add the user to the group. Log out and log back in for the changes to take effect.
Start Docker Desktop
Docker Desktop does not start automatically after installation. To start Docker Desktop:
-
Search for Docker, and select Docker Desktop in the search results.

-
The Docker menu (
 ) displays the Docker Subscription Service Agreement window. It includes a change to the terms of use for Docker Desktop.
Here’s a summary of the key changes:
- Our Docker Subscription Service Agreement includes a change to the terms of use for Docker Desktop
- It remains free for small businesses (fewer than 250 employees AND less than $10 million in revenue), personal use, education, and non-commercial open source projects.
- It requires a paid subscription for professional use in larger enterprises.
- The effective date of these terms is August 31, 2021. There is a grace period until January 31, 2022 for those that will require a paid subscription to use Docker Desktop.
- The existing Docker Free subscription has been renamed Docker Personal and we have introduced a Docker Business subscription .
- The Docker Pro, Team, and Business subscriptions include commercial use of Docker Desktop.
-
Click the checkbox to indicate that you accept the updated terms and then click Accept to continue. Docker Desktop starts after you accept the terms.
Important
If you do not agree to the updated terms, the Docker Desktop application will close and you can no longer run Docker Desktop on your machine. You can choose to accept the terms at a later date by opening Docker Desktop.
For more information, see Docker Desktop License Agreement. We recommend that you also read the Blog and FAQs to learn how companies using Docker Desktop may be affected.
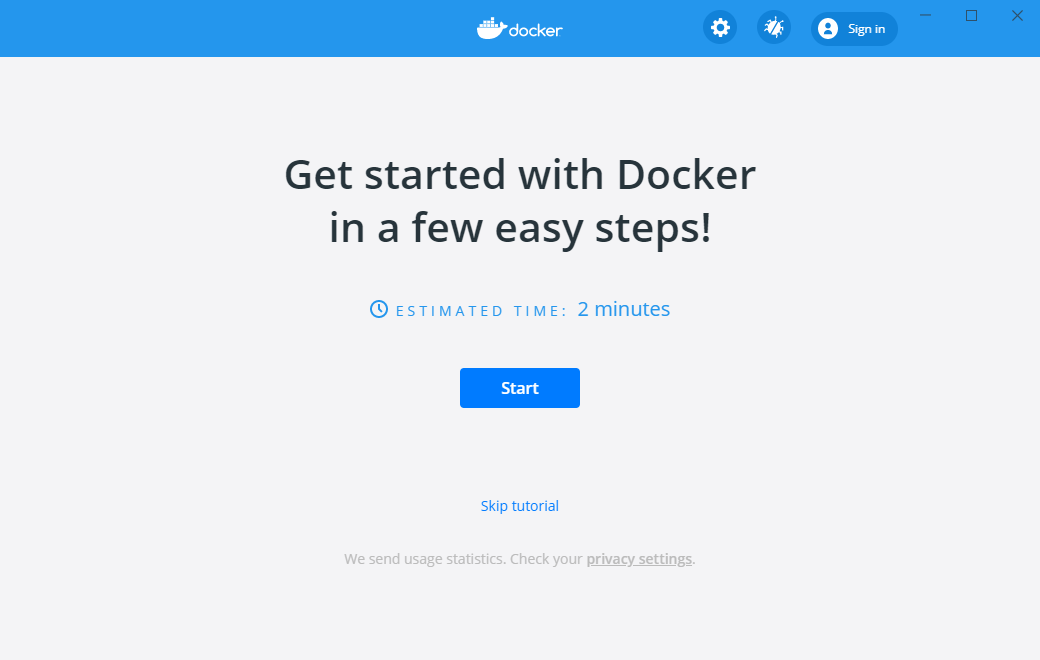
Quick Start Guide
When the initialization is complete, Docker Desktop launches the Quick Start Guide. This tutorial includes a simple exercise to build an example Docker image, run it as a container, push and save the image to Docker Hub.
To run the Quick Start Guide on demand, right-click the Docker icon in the Notifications area (or System tray) to open the Docker Desktop menu and then select Quick Start Guide.
Congratulations! You are now successfully running Docker Desktop on Windows.
Updates
When an update is available, Docker Desktop displays an icon to indicate the availability of a newer version.
Starting with Docker Desktop 4.1.0, the Software Updates section in the General tab also notifies you of any updates available to Docker Desktop. You can choose to download the update right away, or click the Release Notes option to learn what’s included in the updated version. If you are on a Docker Team or a Business subscription, you can turn off the check for updates by clearing the Automatically Check for Updates checkbox in the General settings. This will also disable the notification badge that appears on the Docker Dashboard.
To encourage developers to stay up to date, Docker Desktop displays a reminder two weeks after an update becomes available. You can dismiss this daily reminder by clicking Snooze. You can skip an update when a reminder appears by clicking the Skip this update option.
Docker Subscription Service Agreement
Beginning on August 31, 2021, you must agree to the Docker Subscription Service Agreement to continue using Docker Desktop. Read the Blog and the Docker subscription FAQs to learn more about the changes.
Click Download update When you are ready to download the update. This downloads the update in the background. After downloading the update, click Update and restart from the Docker menu. This installs the latest update and restarts Docker Desktop for the changes to take effect.
When Docker Desktop starts, it displays the Docker Subscription Service Agreement window. Read the information presented on the screen to understand how the changes impact you. Click the checkbox to indicate that you accept the updated terms and then click Accept to continue.
Important
If you do not agree to the terms, the Docker Desktop application will close and you can no longer run Docker Desktop on your machine. You can choose to accept the terms at a later date by opening Docker Desktop.
Docker Desktop starts after you accept the terms.
Uninstall Docker Desktop
To uninstall Docker Desktop from your Windows machine:
- From the Windows Start menu, select Settings > Apps > Apps & features.
- Select Docker Desktop from the Apps & features list and then select Uninstall.
- Click Uninstall to confirm your selection.
Important
Uninstalling Docker Desktop destroys Docker containers, images, volumes, and other Docker related data local to the machine, and removes the files generated by the application. Refer to the back up and restore data section to learn how to preserve important data before uninstalling.
Where to go next
- Getting started introduces Docker Desktop for Windows.
- Get started with Docker is a tutorial that teaches you how to deploy a multi-service stack.
- Troubleshooting describes common problems, workarounds, and how to get support.
- FAQs provide answers to frequently asked questions.
- Release notes lists component updates, new features, and improvements associated with Docker Desktop releases.
- Back up and restore data provides instructions on backing up and restoring data related to Docker.